How Long Does It Take to Change a Thermostat? A DIY Guide
Discover typical time ranges for changing a thermostat, factors that affect install duration, and a practical calculator to estimate your project time. Practical tips, safety notes, and when to call a pro.

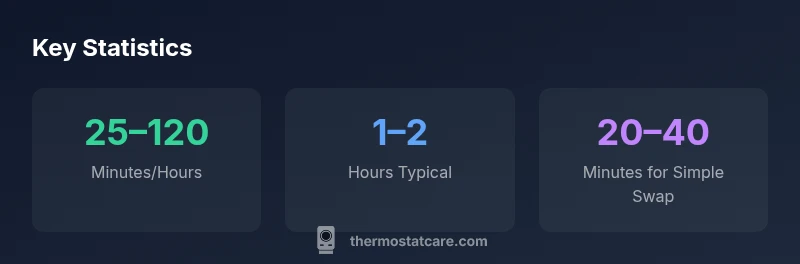
Estimated Time Range for Common Scenarios
If you're asking how long does it take to change a thermostat, the short answer is: it depends on the model and the wiring. A simple swap of the same model without any wiring changes typically takes about 20–40 minutes. Upgrading to a digital thermostat using the existing wiring can stretch to 40–60 minutes. When you install a smart thermostat that requires Wi‑Fi setup or a new C-wire, expect the job to take 60–120 minutes. If your system includes multiple stages, humidification controls, or you are integrating with a home automation hub, you could be looking at 90 minutes to 2 hours. Always pause if you encounter unfamiliar wiring or codes; safety first, and consult your thermostat's instruction manual.
Factors That Influence Installation Time
The duration of a thermostat install is influenced by several factors. The age and type of your current thermostat, whether you’re retaining or changing the wiring, and compatibility with your HVAC system all matter. Wall access, the need to shut off power at the breaker, and having to test after wiring all affect total time. If you lack a dedicated C-wire, you may need to install one or use a power extender kit, which adds to the timeline but improves reliability. The Thermostat Care team notes that taking a few extra minutes to label wires and photograph the old wiring can prevent delays and rework. Finally, whether you’re doing a passive swap or adding advanced features will influence the overall pace of the project.
Step-by-Step Quick Guide
- Turn off the power at the breaker and confirm with a non-contact tester. 2) Remove the old thermostat cover and take a photo of the wire connections for future reference. 3) Label each wire with tape and a marker (R, C, W, Y, G, etc.). 4) Disconnect and remove the old thermostat, then detach the mounting plate. 5) Mount the new base plate level on the wall and secure it. 6) Reconnect wires to the matching terminals on the new unit, double-checking the labels. 7) Attach the faceplate, restore power, and run a quick functional test to ensure the screen lights and the HVAC system responds. 8) Program basic settings and connect to Wi‑Fi if it’s a smart thermostat; verify comms with the app. Tip: keep the screws and mounting hardware in a labeled container to avoid misplacement.
Time-Saving Tips for Faster, Safer Installations
- Label wires as you disconnect them to prevent mismatches. - Keep the thermostat’s mounting bracket and screws organized. - Use a powered voltage tester to confirm the circuit is dead before touching wires. - Read the installation guide for your specific model, and verify HVAC compatibility. - Take a photo before disconnecting anything; it acts as a quick reference.
When to Call a Pro
If your furnace control board is unfamiliar, if you lack a C-wire and can’t source one, or if you’re installing a smart thermostat that requires advanced wiring, a licensed HVAC technician can complete the job quickly and safely. A pro can also handle complex wiring safely and ensure integration with your HVAC system.
Common Mistakes That Add Time
- Skipping a power test or working with live wires. - Mixing up wire terminals due to poor labeling. - Forcing a thermostat into a non-compatible wiring configuration. - Skipping the basic safety step of turning off power. - Not testing after installation to verify proper operation.