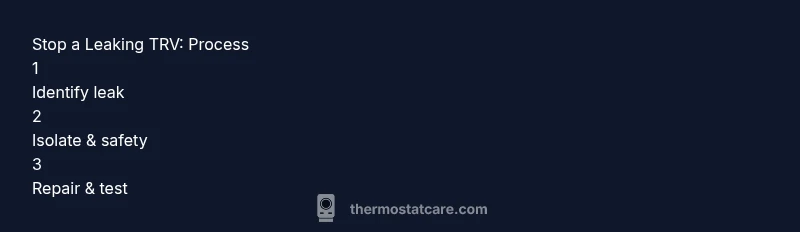
How to Stop a Thermostatic Radiator Valve Leaking
Learn safe, practical steps to stop a leaking thermostatic radiator valve. Quick checks, repair options, and maintenance tips to prevent future drips. Thermostat Care.

Understanding the leak and when to act
Leaks at thermostatic radiator valves (TRVs) are one of the most common heating nuisances in homes. In most cases, the drip comes from simple wear on the washer, a loose connection at the valve tailpiece, or a damaged O-ring rather than a catastrophic valve failure. The Thermostat Care Team notes that addressing minor leaks early can prevent bigger problems, such as corrosion or wasted energy. Start by locating the drip source: is it around the valve head, the nut at the body, or the pipe joint behind the wall? A visual inspection and a wipe-down can reveal whether the leak is ongoing when the system is hot or only when cold. If you can observe dripping while the boiler is on, the leak is more likely to be a loose connection or a failed seal rather than a crack in the valve body. For safety and efficiency, plan to fix leaks when the radiator is cold and the boiler is off.
Safety first: shutting down and isolating the system
Before you touch any heating equipment, switch off the boiler and allow the radiator to cool. If your installation has isolation valves on the radiator (one on the flow and one on the return), close them to isolate the circuit. Use a towel or small container to catch drips; keep a bucket handy. Wear gloves and eye protection if available. If you must drain water to reduce pressure, ensure you know the correct sequence to avoid burning yourself or causing airlocks. Do not attempt to work on live electrical components. If you're unsure of valve accessibility or the order of isolation, proceed with heightened caution and consider calling a professional.
Tooling and materials you’ll typically need
Having the right tools ready makes the job safer and faster. Prepare an adjustable wrench, a set of screwdrivers, a radiator bleed key, PTFE tape, and a replacement washer kit or O-rings sized for your TRV. Have a clean rag or old towels to catch leaks, a small bucket, and a flashlight for any dim corners behind the radiator. If you’re replacing the entire valve, you may also need thread sealant and possibly a spare TRV head compatible with your system. Keep notes or photos to help with reassembly.
Diagnosing common leak sources on a TRV
Leaks around a thermostatic radiator valve usually originate at one of a few points: the valve head (where the cap or sealing washer sits), the nut that secures the head to the valve body, the olive or rubber O-ring inside the tailpiece, or the pipe joint where the valve attaches to the radiator. If the dripping occurs only when the heating is on, the problem is often a loose nut or a worn seal. A leak that persists even with the head removed frequently indicates a damaged washer or a compromised stem seal. Testing with the radiator cold can help prevent scalding and gives a clear view of the leak path.
Repair options: tighten, replace seals, or replace the valve
Based on your diagnosis, choose the simplest fix first. If the head is loose, tighten the nut by a small amount and check for leaks. If the seal is cracked or deformed, replace the washer or O-ring and reseal carefully. For stubborn leaks or visible corrosion, you may need to replace the TRV head or the entire valve. When replacing parts, always ensure you’re using components compatible with your valve model. After any seal replacement, tighten to the manufacturer’s torque recommendation without over-tightening.
After repair: repressurizing the system and bleeding
Turn the boiler back on and observe the radiator for drips. Check the central heating pressure on the boiler gauge; if it’s below the recommended operating range, top up slowly using the filling loop until the dial returns to the normal range. Bleed the radiator to release any trapped air after repairs by using the bleed valve at the top of the radiator, with a cloth ready to catch any water. Recheck for leaks once the system has run for several minutes and in cold conditions. If you see continued dripping, re-evaluate connections or consider valve replacement.
Prevent future leaks: maintenance tips
Regularly inspect TRVs for signs of wear, corrosion, or dripping. Replace worn washers every few years or when you notice reduced sealing performance. Keep valve nuts clean and free of grime to ensure a proper seal, and avoid overtightening plastic components. Periodically test the radiator by turning the heating on and off and watching for drips at the valve body. Finally, schedule a professional service if you notice persistent leaks or changes in radiator temperature, as ongoing leaks can waste energy and raise bills.
Authority sources
- Energy.gov: https://www.energy.gov
- Energy.gov Energysaver: https://www.energy.gov/energysaver
- EPA Green Building: https://www.epa.gov/green-building