How to Install Amazon Smart Thermostat: A DIY Guide
A practical, safety-first DIY guide to installing an Amazon Smart Thermostat, covering compatibility, wiring, mounting, Wi-Fi setup, and Alexa integration.

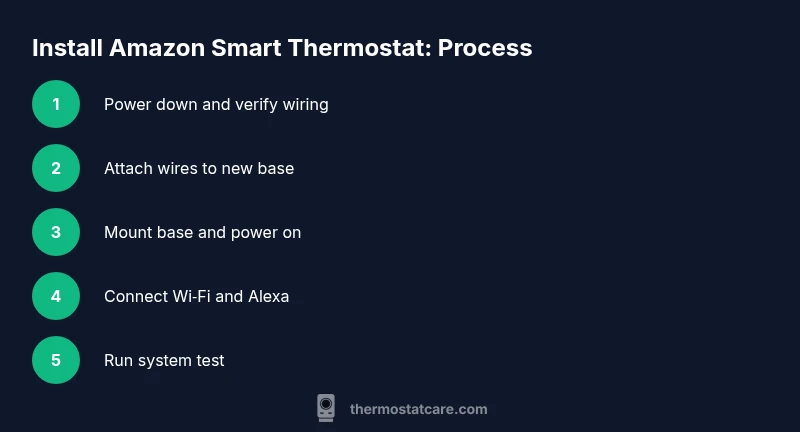
Goal: You’ll install the Amazon Smart Thermostat safely by verifying compatibility, powering down, wiring the C-wire, mounting the unit, and completing Wi‑Fi and Alexa setup. According to Thermostat Care, starting with a pre-install checklist reduces surprises and protects your HVAC system. This quick answer highlights the core steps and safety notes you’ll expand on in the full article.
Before you begin: compatibility, power, and planning
Start with a quick compatibility check to avoid surprises. The Amazon Smart Thermostat works with most standard 24V HVAC systems, but heat pumps and multi-stage setups may need special handling. Confirm you have a C-wire or a compatible power source, and ensure your Wi‑Fi operates on a 2.4 GHz band (some models don’t support 5 GHz). According to Thermostat Care, a concise pre-install checklist minimizes errors and protects your HVAC equipment. Gather tools, clear a small workspace, and plan how to route wires neatly. Finally, switch off the circuit feeding the old thermostat at the breaker to prevent shocks during removal. Label wires as you remove them so you can map them to the new terminals.
Safety first: power off, wiring checks, and precautions
Safety is non‑negotiable when dealing with HVAC wiring. Turn off the breaker and, if available, the HVAC power switch. Use a non‑contact voltage tester to confirm no live current where you’ll work. Label every conductor before disconnecting and take a photo of the existing wiring for reference. Do not force connectors or reuse damaged cables. If you detect burning smells or damaged insulation, stop and reassess or seek professional help. Wear properly insulated gloves if you’ll reach into the wall cavity to avoid incidental cuts or shocks.
Wiring basics and common configurations
Most installations use 24V AC power with a set of common wires: red (R), white (W), yellow (Y), and green (G), plus the common wire C for continuous power. The Amazon Smart Thermostat typically connects to R, C, W, Y, and G as available. If your system is heat-pump or has an O/B reversing valve, follow the device’s labeling and don’t assume the same terminal for heat/cool control. If you lack a C-wire, consult the manual for a power extender or alternate wiring method. Thermostat Care notes that accurate labeling and matching to the base terminals reduces errors during setup.
Mounting location and wiring harness considerations
Choose a location away from direct sunlight, drafts, or heat sources (like vents or register outputs). The thermostat should be reachable at a comfortable height, with the wall clean and dry. If you’re replacing an older unit, ensure the wall stud can support the mounting plate; use wall anchors if needed. Route wires through the provided grommet or wire channel to keep the setup tidy. Measure wall depth to ensure the faceplate sits flush after mounting. A poorly mounted unit can read wrong temperatures or detach over time. Thermostat Care recommends checking that the faceplate is level before tightening screws.
Wi‑Fi setup and Alexa integration
Once mounted, power the device and connect it to a 2.4 GHz Wi‑Fi network. Open the Amazon Alexa app and enable the Thermostat Skill or link the thermostat through the device pairing flow. Create routines or scenes to control HVAC modes with voice commands. Ensure your phone is on the same network during setup and that app permissions (location, Bluetooth) are granted for discovery. A stable Wi‑Fi connection helps prevent dropouts during scheduling and remote access.
Troubleshooting during installation
If the display remains dark or the unit won’t power up, recheck all wire connections and confirm the R and C wires are correctly seated. If a wire is loose, reseat firmly and test again. A missing C-wire can cause flickering or reset behaviors; verify the common path and, if needed, install a power extender kit per the manual. If the thermostat reports an error code, consult the quick reference in the manual and cross-check with the HVAC equipment’s compatibility notes. When in doubt, pause and re‑verify the wiring map you created earlier.
What to expect after installation
After successful pairing, you’ll configure your HVAC mode preferences (heat, cool, auto), set schedules, and connect to Alexa for voice control. The app will display current temperature, humidity, and system status. Run a short test to confirm heat call, cool call, and fan operation. If anything behaves unexpectedly (like wrong heating sequence or no power), re-check wiring and consult the troubleshooting section. The Thermostat Care team recommends verifying each function in the app and with voice commands before relying on automations.
Tools & Materials
- Voltage tester (non-contact)(Verify no live voltage where you’ll work)
- Screwdriver set (Phillips #2 and flat-head)(Use for wall plate screws and terminal connections)
- Wall anchors and mounting screws(If mounting into drywall or studs)
- C-wire and thermostat wiring (14/2 or 18/3 typical)(Ensure you have a C-wire or a compliant power solution)
- Electrical tape and wire strippers(Optional but helpful for clean wiring)
- Smartphone with Alexa/Smart Home app(Needed for setup and voice integration)
- 2.4 GHz Wi‑Fi network(Ensure router supports 2.4 GHz band)
- Level or square(Helps ensure the mounting is even)
Steps
Estimated time: Estimated total time: 60-90 minutes
- 1
Power down and verify
Turn off the circuit breaker that powers the thermostat and the HVAC system. Use the voltage tester to confirm no live current at the thermostat wires before you touch them.
Tip: Double-check the breaker is off and test both the R and C paths to avoid surprises. - 2
Remove the old thermostat
Carefully take off the old faceplate and disconnect wires one by one. Take a photo of the wiring for reference and label each wire with the terminal it came from.
Tip: Labeling wires prevents miswiring when you connect to the new base. - 3
Identify & map wires
Match each wire to its color and terminal on the old unit, noting any unusual wires or jumper connections. Confirm you have at least R and C (if your house lacks C, plan a power solution).
Tip: If a wire is unclear, consult the thermostat’s wiring diagram or pause to verify before proceeding. - 4
Connect wires to the new base
Attach each wire to the corresponding terminal on the Amazon Smart Thermostat base. Ensure the connections are snug and the wires aren’t frayed.
Tip: Push wires straight into the terminals and avoid loose strands that could short. - 5
Mount the base on the wall
Secure the mounting plate with the provided screws into the wall anchors or stud. Make sure the plate sits flat and the faceplate will lie flush.
Tip: Use a level to ensure the plate is perfectly straight before tightening. - 6
Power up and start setup
Attach the display, restore power, and allow the thermostat to boot. Follow the on-screen prompts to connect to Wi‑Fi and sign in to your Amazon/Alexa account.
Tip: Have your Wi‑Fi password handy and ensure the phone you’ll use for setup is close to the thermostat. - 7
Link to Alexa and configure routines
Open the Alexa app, discover the device, and link the thermostat to your smart home. Create basic routines for heating and cooling to match your daily schedule.
Tip: Test a quick voice command (e.g., 'Alexa, set thermostat to 72') to verify integration. - 8
Run a system test
Test both heat and cool modes and observe the fan behavior. Confirm the app shows correct readings and that the thermostat responds to commands.
Tip: If something isn’t right, re-check wiring and retry the pairing sequence.
Questions & Answers
Is the Amazon Smart Thermostat compatible with my HVAC system?
Most standard 24V systems are compatible, but heat pumps and multi-stage setups may require extra steps. Always check your model’s wiring diagram and compatibility notes before starting.
Most standard 24V HVAC systems are compatible, but verify heat pump or multi-stage requirements first.
Do I need a C-wire for installation?
A C-wire provides continuous power for the thermostat. If your current setup lacks a C-wire, you may need a power extender kit or professional assistance.
A C-wire is typically required for reliable power; if you don’t have one, consider a power extender kit or professional help.
Will installing a new thermostat affect my existing settings?
Installing a new thermostat may require reconfiguring schedules and voice routines. The device will import basic settings, but you should review presets after pairing.
You may need to reset schedules and routines after installation, but most settings can be reconfigured quickly.
Can I install the Amazon Smart Thermostat myself?
Yes, for typical systems, a DIY installation is feasible if you follow safety steps and wiring correspondence carefully. If you encounter unusual wiring or system types, consult a professional.
Yes, most homeowners can install it themselves if they follow the steps and stay safe.
How do I connect Alexa to the thermostat?
Use the Alexa app to discover and link the thermostat, then enable routines to automate heating and cooling commands.
Link the thermostat in the Alexa app and set up routines for voice control.
What tools do I need for installation?
A basic toolbox with a screwdriver, wire labels, a voltage tester, and a smartphone for the app is sufficient for most installs.
A screwdriver, voltage tester, wire labels, and a smartphone are usually all you need.
Watch Video
What to Remember
- Verify compatibility before starting
- Power off and label wires
- Match wires to the correct terminals
- Test the system after installation