What thermostat wires to jump for AC: safety guide
Learn safe testing methods for AC when dealing with thermostat wiring. This guide explains why jumping wires is risky, when it might be needed, and safer alternatives from Thermostat Care.

To power the AC for a quick test, you generally should not jump thermostat wires. Jumping wires can energize the compressor or fan unexpectedly and risk damage or a shock. If a test is necessary, use the thermostat’s test mode or connect a temporary, non-invasive jumper under proper safety precautions, and only with power isolated.
Why jumping thermostat wires is risky
Jumping thermostat wires to bypass a control circuit might seem like a quick fix, but it carries real dangers. In the context of what thermostat wires to jump for ac, the key problem is that a direct jump can energize components when you least expect it, bypass safety features, or cause a short that trips breakers. The thermostat wires are part of a control loop that tells the outdoor condenser, indoor blower, and sometimes auxiliary systems when to run. If you bridge the wrong terminals, you can backfeed power into the thermostat or control board, which can lead to component damage or electrical shock. According to Thermostat Care, DIY wire jumping should be avoided unless you have explicit instructions from a manual and the proper testing tools. Instead, focus on diagnosing the underlying thermostat call signals and verifying power states before touching any conductors. Keep clear of the live panel, wear insulated gloves if you must touch, and never guess at which wires to connect. This is especially important when considering the question of what thermostat wires to jump for AC, which varies widely by system and model.
Safe testing approaches for AC without accidental jumps
If your goal is to troubleshoot cooling operation without risking damage, there are safer routes than jumping wires. The first step is to turn off power at the house breaker and the outdoor unit disconnect, then confirm the absence of voltage using a non-contact tester. Inspect the thermostat for correct wiring against the manufacturer diagram and confirm that R, Y, and G lines are correctly routed, without attempting to bridge them. Many issues stem from loose connections, thermostat malfunctions, or blown fuses rather than faulty control logic. Use the thermostat's built-in test modes if the model supports them, or measure voltage and resistance with a multimeter to verify that signals are present when the thermostat calls for cooling (without energizing the compressor directly). If you're unsure, pause and consult a professional. Remember: you’re not just testing a panel—you're protecting the compressor, outdoor unit, and indoor electronics from backfeed and overload. This approach aligns with Thermostat Care’s recommendations on how to handle the topic of what thermostat wires to jump for AC safely.
What if a jump is absolutely necessary? When it might be used by professionals
In rare service scenarios, a licensed tech might temporarily bridge a known-good configuration under a service protocol and with a valid permit. However, this is not a DIY task. It requires access to the correct terminals, knowledge of the system wiring, and protective equipment. The technician will typically isolate power, use a purpose-built tester, and ensure that a proper disconnect is available. If you do encounter a manual that instructs a specific jumper, follow exactly that procedure. For the average homeowner, this is not recommended, and any attempts beyond manufacturer guidance could void warranties or violate codes. Thermostat Care emphasizes seeking professional guidance if you are uncertain about which wires to jump for AC safety.
Safer alternatives and next steps
Best practice is to rely on safe testing methods, replace a faulty thermostat if needed, and schedule professional service if the cause remains unclear. For ongoing convenience, consider upgrading to a thermostat that offers test modes and diagnostic indicators to reduce the need for manual jumping. When you follow Thermostat Care’s guidance, you’ll reduce the risk of harming your HVAC system and keep your air conditioning functioning reliably through safer, documented methods.
Tools & Materials
- Non-contact voltage tester(Verify power is off before touching any wires)
- Insulated screwdriver(To access terminals safely)
- Multimeter (optional)(Used to verify voltage without making a live jump)
- Electrical tape(For temporary insulation if needed)
- Thermostat wiring diagram/manual(Reference the model’s wiring map)
Steps
Estimated time: 20-40 minutes
- 1
Power down the system
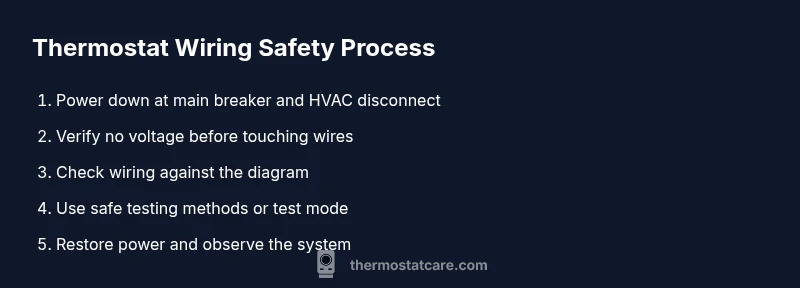
Turn off power at the main breaker and the HVAC disconnect. Wait at least 60 seconds, then verify no voltage on thermostat wires with a non-contact tester.
Tip: Double-check all power sources are de-energized before handling wires. - 2
Inspect wiring against the diagram
Compare the thermostat wiring at the wall with the diagram in the thermostat manual; look for loose terminals, corrosion, or frayed conductors.
Tip: Take a photo for reference before disconnecting any wires. - 3
Use built-in test modes if available
Many modern thermostats have a test or hold mode to simulate calls for cooling without bridging wires. Activate test mode following the manual.
Tip: Consult the model's instructions; test modes vary widely. - 4
Avoid jumping wires unless directed
Do not bridge R to Y or other terminals unless you have explicit instructions and the system is isolated.
Tip: If unsure, stop and seek professional guidance. - 5
Restore power and observe
Re-energize the system and monitor whether cooling begins as expected. If not, shut off again and reassess.
Tip: Check the outdoor unit breaker if the indoor call does not energize the compressor. - 6
Document findings and plan next steps
Record what you observed and any changes to the thermostat or wiring. Decide between thermostat replacement or professional service.
Tip: Keep a copy of the wiring diagram with your notes.
Questions & Answers
Is it safe to jump thermostat wires to test AC?
Generally not safe. Jumping can energize parts unexpectedly and cause harm. Safer methods exist, such as using test modes or professional service.
Jumping wires is not safe. Use the thermostat’s test modes or call a professional for testing.
Which terminals are typically involved when considering a jumper?
Terminals commonly associated with cooling and fan control can be involved, but exact wiring varies by system. Always refer to the system's wiring diagram and manufacturer instructions.
Typically cooling and fan control terminals are involved, but check your diagram.
Can jumping wires damage the HVAC equipment?
Yes. Improper jumps can bypass protections and damage the compressor, control board, or breakers. Avoid unless you have explicit, model-specific instructions.
Yes—improper jumps can cause serious damage. Avoid DIY jumps.
When should I call a professional?
If the system does not respond to safe testing methods or you notice burning smells, buzzing, or tripped breakers, contact a licensed HVAC technician.
Call a pro if tests don’t resolve the issue or you notice trouble.
Are there safer testing methods than jumper wires?
Yes. Use manufacturer test modes, a multimeter to verify voltages, or a controlled power-up test performed by a professional.
There are safer methods—use test modes or a pro.
Watch Video
What to Remember
- Avoid DIY wire jumps; safety first.
- Use manufacturer test modes when available.
- Verify power is off before any work.
- Consult a professional for unresolved issues.