Where Is Thermostat for Heat Pump: Location, Setup, and Troubleshooting
Discover the ideal location for a heat pump thermostat, how placement influences efficiency, and practical steps to verify, relocate, or upgrade your thermostat for reliable comfort.

Understanding the role of the thermostat in heat pump systems
A heat pump relies on precise temperature sensing to decide when to heat or cool and how aggressively to run. The thermostat is not just a control panel; it is the sensor that communicates with the indoor air handler and, in many configurations, the outdoor unit. Its placement determines how accurately it reads the space’s real temperature and how quickly it reacts to changes. If the thermostat sits in a drafty zone, near a heat source, or in direct sunlight, readings will be biased, causing the system to overwork or underperform. For homeowners exploring the question of where is thermostat for heat pump, the goal is simple: maximize representative readings while minimizing disturbances from the home environment. This is especially critical in homes with multi-zone layouts or older insulation, where small shifts in placement can yield noticeable comfort differences. The Thermostat Care team emphasizes that a well-placed thermostat translates to steadier temperatures, fewer short cycles, and better overall efficiency.
Common thermostat locations for heat pumps
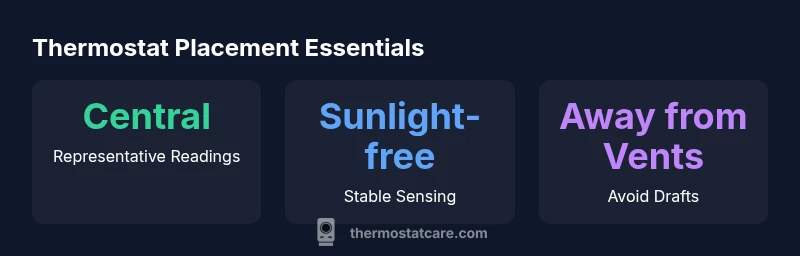
Where is thermostat for heat pump often answered by practical placement rules of thumb. The most common location is a wall in a central living space—ideally on an interior wall away from windows, doors, and direct sunlight. Hallways or family rooms near the main living area can work well because they reflect typical occupancy and activity. In some homes, the thermostat is placed near the return air grille to capture the freshest room air, but this must not be in the direct path of a supply vent. If you have an upstairs zone, a second stat may be needed to balance comfort. When evaluating locations, avoid spots near heat-generating appliances or doors that frequently open to unconditioned spaces. In short, the best spot for the thermostat is where the temperature reading mirrors typical living conditions rather than transient spots in the house.
How to determine the best placement in your home
To identify the optimal placement for where is thermostat for heat pump, start with a room that represents typical occupancy and activity. Check for consistent readings by temporarily relocating a portable thermometer or using a smart thermostat with multiple sensors. Consider factors like sun exposure, drafts, and proximity to exterior walls. A quick test is to compare readings at three candidate walls over 24 hours—choose the one that tracks the actual room temperature most closely. Also assess wiring and accessibility: you want easy access for adjustments and diagnostics without compromising cosmetic alignment. Document the readings and comfort outcomes for at least a few days to confirm the best spot. Remember: the goal is stable comfort with minimal energy waste, not merely proximity to the HVAC equipment.
Wiring considerations and compatibility
If you’re upgrading or relocating to a smart thermostat, ensure the device is compatible with heat pump configurations, including O/B reversing valve control and auxiliary heat. The “where is thermostat for heat pump” question also touches on power needs: most modern thermostats require a common wire (C-wire) for reliable operation. If your current setup lacks a C-wire, you may need to add one or choose a power-sharing model. In addition, verify the thermostat’s compatibility with your outdoor unit and indoor air handler. Poor compatibility can lead to erratic readings or miscommunication between components, undermining the very purpose of accurate placement. When in doubt, consult the installation manual or a licensed HVAC technician to avoid compromising the system.
Troubleshooting indicators that placement affects performance
If you notice temperature swings, delayed responses, or frequent short cycling, the thermostat location could be a factor. Symptoms include rooms that heat or cool unevenly, or a thermostat that reads warmer or cooler than the ambient space. Use a simple three-room test by measuring readings in the living room, a bedroom, and near the thermostat for several days to identify discrepancies. Calibration issues or sensor drift can mimic placement problems, so perform a calibration check and, if necessary, re-center the sensor or relocate. Consistent, accurate readings are essential for the heat pump to run efficiently and maintain comfort without overworking.
Practical steps to relocate or verify thermostat placement
If you decide to relocate the thermostat, plan the new location with the system’s architecture in mind. Turn off power, remove the faceplate, and document wire colors before disconnecting. Reconnect at the new wall location with proper strain relief and secure mounting. After installation, test system modes (heat, cool, auto) and verify that readings align with a reliable room thermometer in multiple areas. If relocation isn’t feasible, consider adding a remote sensor or a smart thermostat that supports room sensors to improve accuracy. Finally, keep documentation of any changes for future maintenance.
Case studies: real-world examples of thermostat placement
In a two-story home with an open-plan first floor, placing the thermostat on an interior wall in the living area provided readings that matched a spot on the second floor by occupancy patterns, reducing overcooling upstairs during cooling months. In a compact apartment with limited interior walls, a central hallway location delivered more consistent performance than a wall adjacent to the kitchen, where heat from cooking skewed readings. These examples illustrate how “where is thermostat for heat pump” can vary by floor plan, insulation, and occupant habits. The lessons emphasize testing, avoiding sunlit windows, and prioritizing a location that reflects typical comfort needs.